

A big part of the joy of travel is learning about the local food and drink. For the travel photographer, local culinary specialties represent a cornucopia of image possibilities. In this post, we’ll look at some food images and discuss a few tips and tricks to make delectable photos of the victuals we meet while traveling. Warning: Do not read this post while hungry.
When photographing plated food, it’s best to get in close. Shoot straight down or at a slightly oblique angle, and always check your background to ensure it is as uncluttered as possible. Be aware of your focal point and depth of field (how much of the image is in focus) so that the most important part(s) of your image are sharp.

For this photo of a cheese plate in Burgundy, France, I got in close to the subject and chose a small aperture to ensure all the different cheeses were sharply in focus. Buy this photo
Don’t forget that specialty drinks are also a big part of local culture. For example, in Argentina the deep love of mate (pronounced MAH-tay), a local infusion, becomes almost a religious practice. This image of the mate service engages all the senses with its bright colors, contrasting textures, and suggestion of the smell and taste of the drink. To capture a sense of the Argentinian obsession with mate, I shot this image of the serving of the drink with all its components. I wanted to include some of the environment around the mate tray as well. The scene was lit with natural light, which further saturated the bright colors.

Argentina’s national obsession, mate. Buy this photo
Always be on the lookout for local dishes that are unusual or exotic to our own sensibilities. This image of the local Peruvian specialty cuy, or guinea pig, has sold well on American and European stock photography sites because the main ingredient is so unfamiliar to our palettes. I love the saturated colors and the humor inherent in the guinea pigs holding peppers in their mouths. The ocher wall makes a lovely background to offset the colors of the dish. To capture this image of Peruvian cuy served during a home-hosted lunch, I got in close as the hostess held up her dish, ensuring that the ocher wall behind was all that was visible in the background. I chose a wide aperture to slightly blur one of the guinea pigs and the wall. I used natural lighting with just a kiss of off-camera flash to accentuate the highlights.

Cuy (guinea pig) is a Peruvian delicacy. Buy this photo
Sometimes it is the ingredients rather than the final dish that are most interesting. While on a shore excursion on the Greek island of Rhodes, my family saw these beautiful octopuses hanging to dry in the sun. After photographing them, we ordered a plate of grilled octopus. We very nearly missed the sailing of our ship, as the taverna’s cook took her time to grill the dish, but it was absolutely worth it!

Obviously, natural light was the way to go with this image. I wanted to get in close, but not too tight, so that the lovely Rhodes scenery would be partly visible behind the drying octopus. I used a medium-wide aperture to slightly soften the background. Buy this photo
What’s even better than food images? Portraits of local people making or serving the food! Here’s a shot of a server holding up a tray of Istanbul’s best baklava. The background is a bit cluttered, but I like this image for its blending of the beautiful dessert tray with the pride of the man serving it.

Often a street vendor, cook, or restaurant server will be reluctant to have their portrait made but will be happy to pose with their wares. For this portrait of an Istanbul baklava server, I chose a wide-angle lens and got in very close to the food tray to emphasize the baklava while including the server in the composition. Just natural light and balanced fill flash were used as lighting. Buy this photo
Street markets are a wonderful source of travel images. They tend to be bright, colorful, exotic, and characteristic of the location. Be aware that some vendors will expect you to buy something if you want to photograph their wares.

I like the contrasting colors in this shot of Istanbul’s ancient Spice Market. Buy this photo
Nearly every culture around the world has its own version of barbecue, and in my broad and diverse travel experience, it’s all good. Here’s a photo of whole branzino (Mediterranean sea bass) fish being grilled topside by the captain of our small wooden sailing ship on the Turquoise Coast of Turkey. It was nearly completely dark, so I lit this image using light from the burning coals and a touch of flash. A relatively high ISO was required to balance the low natural light with the need for a small enough aperture to keep the whole subject in focus.

Whole fish on the grill aboard a gulet yacht in Turkey. Buy this photo
Sometimes a local cuisine is all about diversity, such as the Dutch-Indonesian specialty rijsttafel (rice table). Some presentations of rijsttafel in Amsterdam involve over a hundred different tiny plates, each containing a different food preparation. To capture this tapestry of tastes, I stood on the bench and shot obliquely onto the table top, including as much of the spread as I could.

Indonesian rijsttafel served in Amsterdam. Note that in restaurants at night we have little or no control over the artificial lighting, which can sometimes lead to an unnatural color cast on the food. Shoot in RAW format so you can adjust the color balance during post-processing when you get home. Buy this photo
I grew up in New England, and after traveling to more than 100 countries around the world I can say with authority that few meals can beat a good old-fashioned New England clambake with lobster. To capture this iconic image, I shot up close and directly toward the lobster, using a normal lens with a medium aperture. This allowed most of the meal to be sharply focused, but with some falloff in sharpness toward the edges in order to emphasize the Maine event. The contrasting colors between lobster, clams, and corn make for a pleasing composition.

A lobster clambake in Maine showcases the contrasting colors and textures of this delicious meal. Buy this photo
As a parting shot, I’ll leave you with this image of French haute cuisine. The gloriously prepared and plated fish course at Paul Bocuse’s three-Michelin-starred restaurant made a fun subject because it is whimsical and artistic at the same time. The available lighting was soft and subdued for artificial light, so no flash was needed. I shot some closer compositions of just the plate, but preferred this one with some of the table setting included.

Bon appétit! Buy this photo
What are your favorite food photos? Do you have tips on how to make food images really pop? Please share your comments.


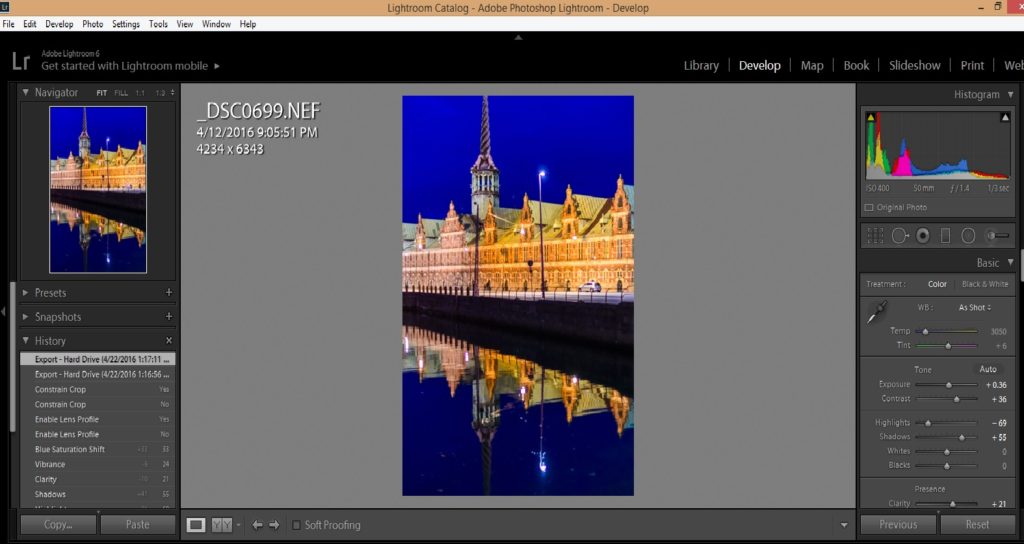


![I See a Red Door and I Want to Paint It Black [Encore Publication]: When a black-and-white image is better than color, and how to convert to B&W](http://www.to-travel-hopefully.com/wp-content/uploads/2016/08/LR-9763-1200x801.jpg)


 This image shows the early partial stages of the Svalbard total solar eclipse. Shoot periodically during all the partial stages, and remember to reposition your shooting angle so the sun remains in the center of your field of view.

 Once home from the eclipse trip, get creative about how to share your experience. Here I have put together a montage of some of my favorite images from each stage of the Svalbard eclipse. Using Photoshop, I created a composite image showing the sequence of stages from partial to total and back again.
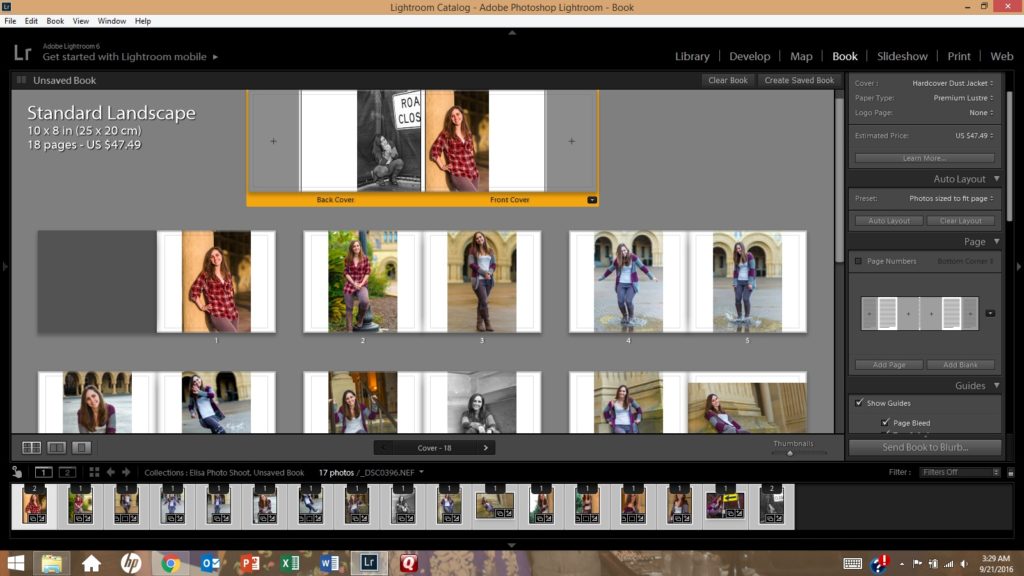 The process of creating a photo book using Lightroom’s Book module (shown here) is fairly straightforward. It’s even more intuitive using an online service such as Snapfish or Shutterfly.