Let’s pick up the gear discussion where we left off on the recent post. Last time, we covered cameras and lenses. Now we’ll talk about flashes, tripods, accessories, bags, and other essential kit.
Flash Units
Your camera most likely has a built-in flash, and in many cases that can be good enough to provide some fill-in lighting for backlit subjects or even to serve as a main light in very dark situations. But for more flexible control over how much light you want, the quality of that light, and where that light comes from and goes to, you will likely want to have a separate flash unit. I use the Nikon SB-910, which is powerful and flexible enough for most settings. It has been discontinued and replaced by the Nikon SB-5000, but the older model is often still available.
Whatever flash you use, it is best to attach a diffuser of some sort to soften the otherwise very harsh light of the flash. I also keep my camera set to lower the flash output by 1 stop, and I only override this setting occasionally. Flash is often best when used sparingly.
Tripods
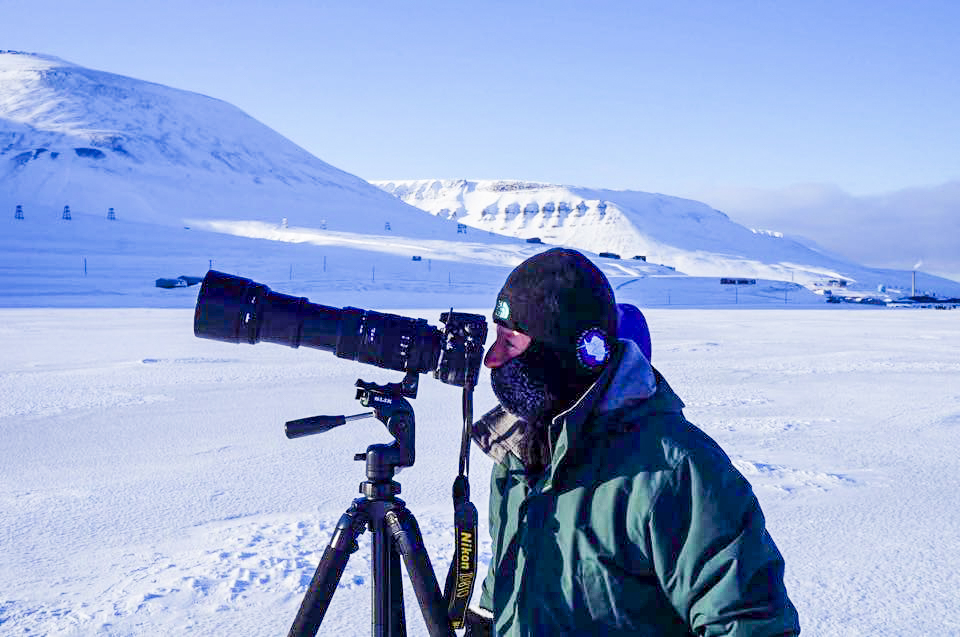
For most travel situations, you’ll want a lightweight tripod that folds up to a nice portable size but still offers enough stability for most uses. There are times, though, when I need to bring along my heavy and bulky professional tripod. Whatever tripod you choose, be sure to fit it with a good quality head (ball heads provide a lot of flexibility and ease of use for travelers) and remember to take along the plate that attaches the tripod to your camera, if required.
My go-to lightweight travel tripod is the Manfrotto Be Free. It folds up to an incredibly small size yet affords a surprising amount of stability. The included ball head works well but is difficult to adjust for sensitivity. This tripod is designed to fit into a special pouch in my favorite travel photography backpack, also made by Manfrotto.
The SLIK 615-315 is a great tripod for use close to home or on trips where you will have constant vehicle support. It’s very solid, supports a tremendous amount of weight, and can be adjusted for nearly any shooting situation. I recommend you fit it with a good ball head for maximum flexibility.
A monopod can be a real problem solver when you need more stability than handholding or resting your camera on a vehicle or table will afford, but you can’t carry or use a full tripod. I use the Manfrotto 681B model.
Accessories
We photographers love our toys! While it is easy to get carried away and purchase every cool accessory that comes along, I will try to limit the recommendations here to a handful of truly essential items. And don’t forget the little things like lens cleaning cloths, a blower brush for dust, and of course extra batteries and chargers for your camera and flash.
Three kinds of filters are essential gear for most photographers. I’ll cover each type below. Note that you must use a filter that is the correct size to attach to your lens.
It’s a good idea to keep a UV filter attached to your lenses at all times, as this helps protect the front element of the lens from scratches. Use a good quality filter, though, as the poorer ones can affect image quality. I would recommend removing the UV filter when shooting with certain other combinations of filters, as the edges of the image can be cut off (vignetting) with too thick a stack of filters on the end of the lens. I’ve had good luck with Hoya UV filters.
The second must-have type of filter is the circular polarizer. A polarizing filter can reduce glaring reflections and can darken skies and enhance natural colors. This little gadget is almost a secret weapon for making images that really pop. Again, I like the Hoya products, which are thin, well made, and perform as they should.
The final essential filter is the neutral density filter. These reduce the amount of light that reaches the camera’s sensor, so you can use slower shutter speeds to blur motion, or so you can use a wider aperture to get a shallow depth-of-field, even in bright sunlight.
Another essential is a good remote release for your camera. I know plenty of photographers who still use the good old trusty wired (or cable) releases. I like to be able to move away from the camera when shooting remotely, so I favor a wireless release such as the RFN-4s Wireless Remote Shutter Release.
Smartphones
Most of us would never consider leaving home without our phone, and there are additional good reasons to carry yours with you when you are photographing at home or around the globe. First, the cameras in today’s better phones are now good enough to make quite good images. I’ve been very impressed with the quality of the main camera, and even the selfie camera, on my Apple iPhone 6S. But your phone is also an essential photography tool because there are some very good apps to help you plan, shoot, and share your images. There are too many to list here, but I’ll plan a future post to share some of my favorites.
Bags
Aside from cameras and lenses, no other category of gear gets photographers arguing quite so heatedly as bags. For a travel photographer, your bag must be highly protective and durable yet lightweight, fit your gear well but with the flexibility to change out kit as needed, and preferably not advertise that you have expensive camera equipment inside. The choice of what bag to use is a very personal one, but I’m still going to recommend my three favorites.
For those times when you need to bring most or all of your gear on a trip, I like the Tamrac 5586 Expedition 6x Backpack. It carries a lot of gear snugly and flexibly, and it doesn’t look like a camera bag so it’s less likely to invite the wrong kind of attention. It will almost always be accepted as carryon on flights, but it is a bit bulky and heavy for all-day, everyday use while traveling. I’ll often use this bag to get all my gear to my first destination, then pack a day bag for just the gear I’ll need for each day of the trip.
My current favorite bag for day use for nearly any shooting situation near home or while traveling is the Manfrotto MB MA-BP-TRV Advanced Travel Backpack. It can fit a reasonable amount of gear while leaving room for non-photography items like a jacket or a water bottle (yes, even photographers occasionally have to drink or stay warm). It disguises your gear pretty well, has good rain protection, and even sports a special sleeve for carrying the Manfrotto Be-Free Travel Tripod.
For carrying just a few pieces of gear around town or close to home or hotel, a shoulder bag can work well. This is the best setup for quickly accessing your gear while shooting, but it can be tiring to carry the weight across one side of your body if you have a lot of trekking to do.
Software
For post-processing my images, I use both Adobe Lightroom and Adobe Photoshop Elements. I can do 90% of my processing using just Lightroom, but occasionally I do need the added power of Photoshop. While I still use the perpetual license software versions, by now most photographers have gone over to the monthly licensing structure that Adobe calls the Creative Cloud.
What gear can’t you live without? Have you discovered any little gadgets that improve your images or make life easier for photographers? Please share your thoughts in the comment box. I’d love to get your ideas!
Want to read more posts about photographic gear? Find them all here: Posts on Gear.


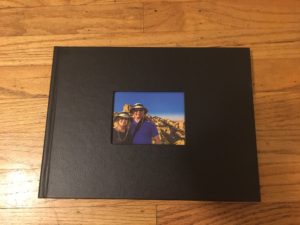
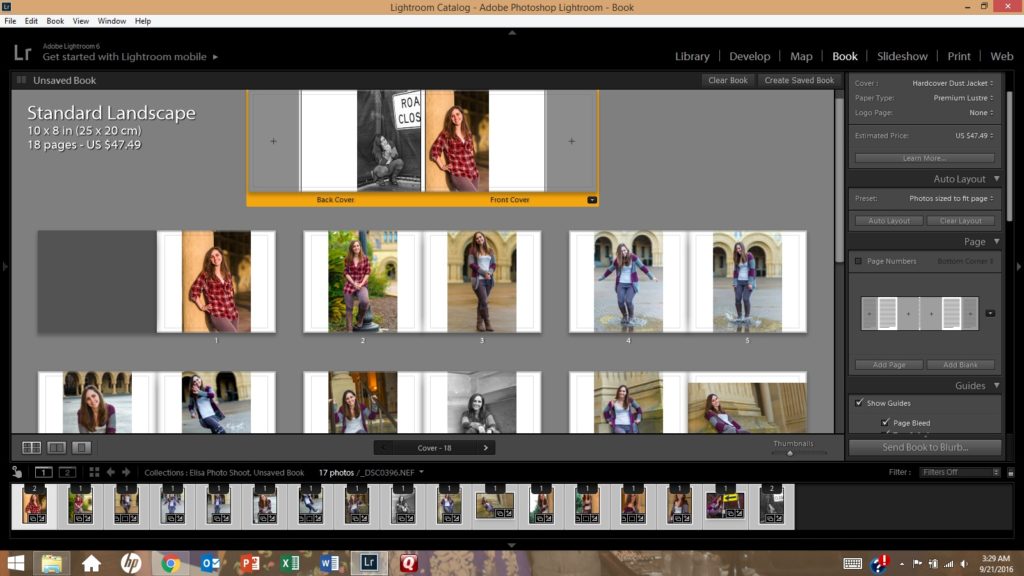 The process of creating a photo book using Lightroom’s Book module (shown here) is fairly straightforward. It’s even more intuitive using an online service such as Snapfish or Shutterfly.