Note: It’s been over a year since I first posted this updated review. I still find the Camera Pixels app to be a top-performing app in its class, and I still use it regularly to take manual control of my iPhone camera, so thought I’d post the review again now.
I’ve posted repeatedly about the importance of understanding how to take manual control of your camera in order to make images that are properly exposed and focused. Whether you are using a professional DSLR, an advanced full-frame mirrorless ILC, a compact point-and-shoot, or the camera built into your smart phone, there is no way you will get consistently acceptable results if you leave the camera’s settings to its auto mode. See this post for an overview: Post on Beyond the Auto Mode.
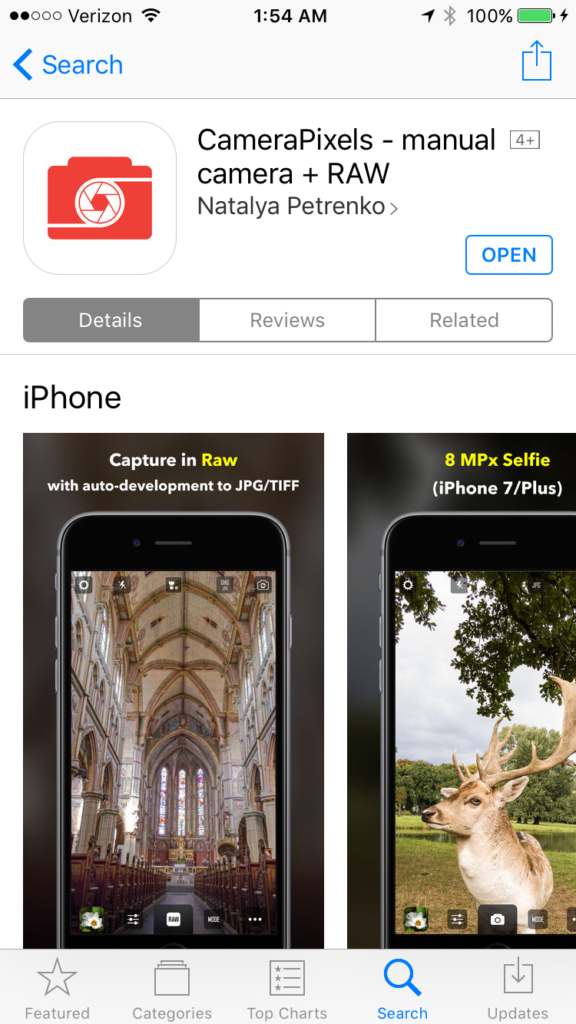
About three months ago, I posted a review of an early version of an iPhone app called “Camera Pixels”. In that review, I found the app to be a very promising concept due to its advanced DSLR-like features and intuitive controls, but I couldn’t fully endorse it in the earlier version because I found several bugs and interface quirks. You can read that earlier review here: Previous review of early version of Camera Pixels app. Since that review was published, I have had several discussions with the Camera Pixels support team to detail my concerns about the various issues I found.
For the past two days I have been testing a new version of the Camera Pixels app, and I can now recommend it wholeheartedly. The new release preserves the advanced features and (relatively) simple interface of the earlier version, but it has addressed all of the significant issues I outlined in my review of the previous release. Specifically:
- the image flicker in the “viewfinder” area of the screen has been eliminated,
- the bracketing of exposures now retains the proper requested spacing (unless at a physical limit of a setting),
- there is a new “Pro View” mode that keeps the manual settings toolbar always on the screen so any manual overrides are immediately apparent, and
- the controls to separate the exposure point from the focus point are now more intuitive.
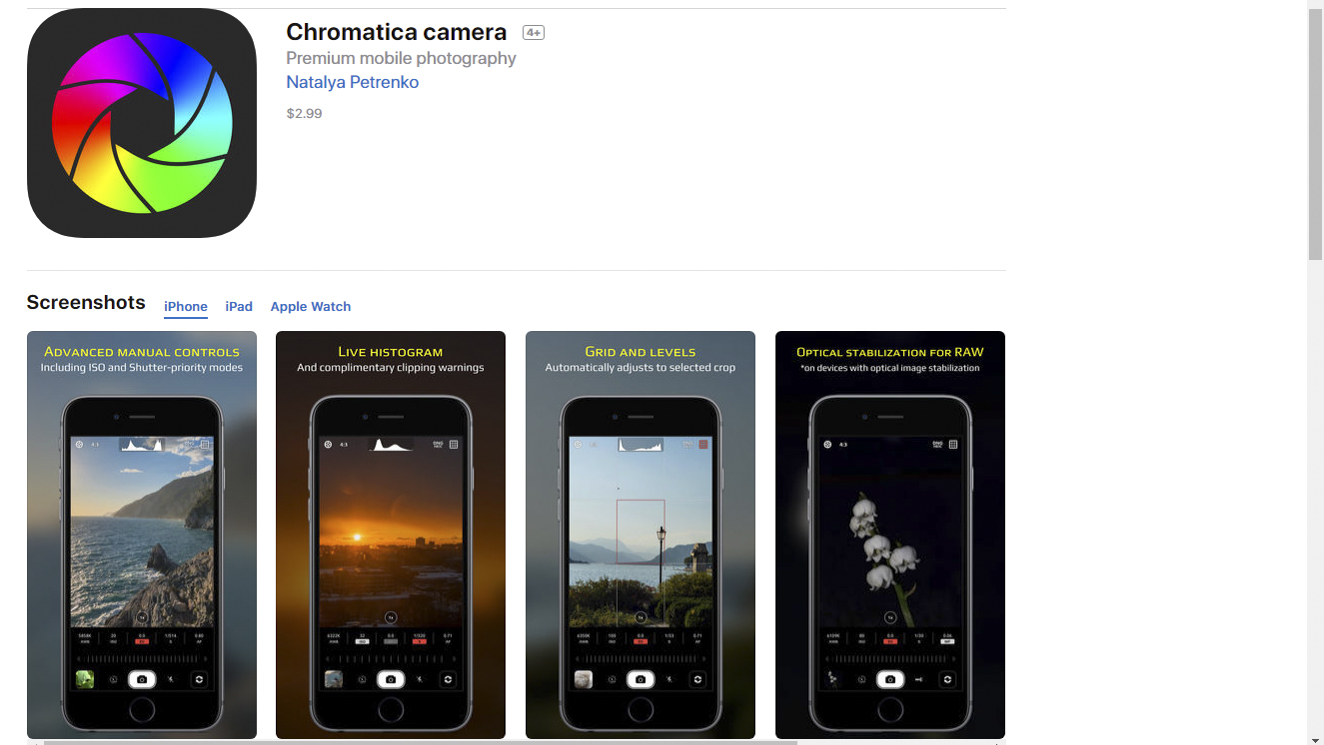
Like the “Manual” camera app that I’ve been using for years and the “ProCam 4” app that has been my go-to camera control app for the past several months, the new “Camera Pixels” app allows the manual selection of ISO, shutter speed, exposure compensation, and focus distance (note that the iPhone camera’s lens has a fixed aperture, so F-stop cannot be manually set). Also like the Manual app and the ProCam 4 app, Camera Pixels allows images to be captured using RAW mode, which has a great many advantages over capture in JPEG format (see this post for more information: Post on RAW Capture). And all three of these camera apps display a histogram to assist in setting exposure properly.
In addition, both Camera Pixels and ProCam 4 (but not Manual) offer some very useful advanced camera control capabilities, including the following:
- Shutter Priority: You can choose an exposure mode in which you select the shutter speed first and the app will set the appropriate ISO.
- Exposure Bracketing: You can shoot a series of four shots at different exposures to increase the likelihood that one of them will be at the best exposure for the lighting conditions. The series of shots can also be combined using HDR tools found in Lightroom, Photoshop, and other editing software into a single image with a higher range of tones from very dark to very bright.
- White Balance: You can adjust white balance in the app, which is often preferable to having to adjust it in your RAW files during post-processing.
- Virtual Horizon: The display can show you when the horizon is level.
- Slow Shutter Options: You can select long fixed shutter speeds as well as bulb mode to keep the shutter open for as long as you’d like.
- RAW+JPEG: You can choose to store the image in both RAW and JPEG formats.
With all this incremental functionality, your little phone’s camera begins to behave a lot like a more advanced standalone camera. While the iPhone’s camera, with its small sensor and its tiny fixed-aperture non-interchangeable lens, still cannot compare to a professional or enthusiast DSLR or ILC camera, the results using an advanced manual camera control app such as Camera Pixels or ProCam 4 are vastly improved compared to using the phone’s native camera app. At iTunes App Store pricing of $2.99 for Camera Pixels or $4.99 (temporarily reduced to $1.99) for ProCam 4, either of these apps is a great buy and a serious enhancement to the iPhone’s built-in camera.
There are some significant differences between Camera Pixels and ProCam 4. ProCam 4 offers advanced image editing capabilities, while Camera Pixels does not. However, Camera Pixels offers more flexible exposure bracketing options, the ability to separate exposure point from focus point, a better histogram, and more advanced RAW and video shooting options. And a significant advantage of the new Camera Pixels app over ProCam 4 is its simple and intuitive user interface for setting and resetting the manual camera control features such as exposure compensation, shutter priority, and ISO priority. In fact, the Camera Pixels app comes the closest I’ve ever found to the user interface of an advanced DSLR or mirrorless camera.
One note to enhance the usability of the Camera Pixels app: As far as I can tell, there is no built-in help content in the app itself, but there is a very useful online user guide available from the app’s developers. You can find the user guide here: Camera Pixels app user guide.
In summary, the new Camera Pixels app is a great concept that comes closest of any camera control app I’ve found to the look-and-feel of an advanced standalone camera. With the greatly improved new release, Camera Pixels has become the best option I’ve found for iPhone users wishing to control the phone’s built-in camera like an advanced DSLR or mirrorless standalone camera. I now fully recommend this app, and I plan to use it as my first choice for advanced control of my iPhone’s camera.
Here’s the link to the Camera Pixels app on the Apple App Store: Camera Pixels app.
What app do you use to control your phone’s camera? What do you like and dislike about it? Please share your thoughts here.
Want to read more posts about photography gear? Find them all here: Posts on Gear.